How to start using CostPocket with Netvisor
CostPocket integration with Netvisor allows you to easily import purchase invoices and update suppliers in the company register in Netvisor straight from the CostPocket app.
Before you begin
Set up an account with CostPocket and register your company following these tutorials:
Integrate Netvisor with CostPocket
Once registered, you need to enable the integrations both from CostPocket and from Netvisor side.
CostPocket side
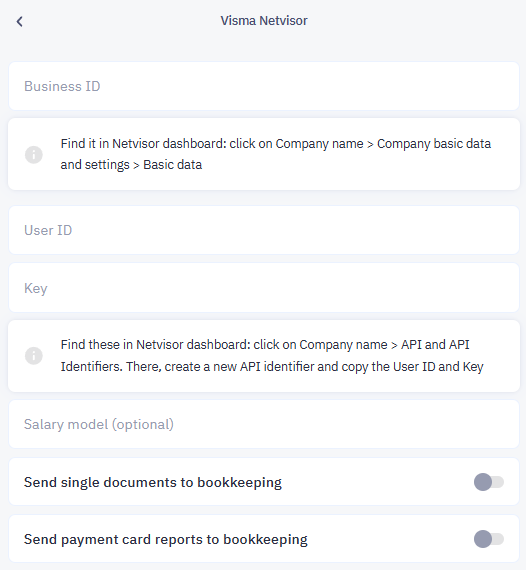
1. In CostPocket Settings -> Accounting software integrations -> Visma Netvisor, you will be required to add Netvisor details:
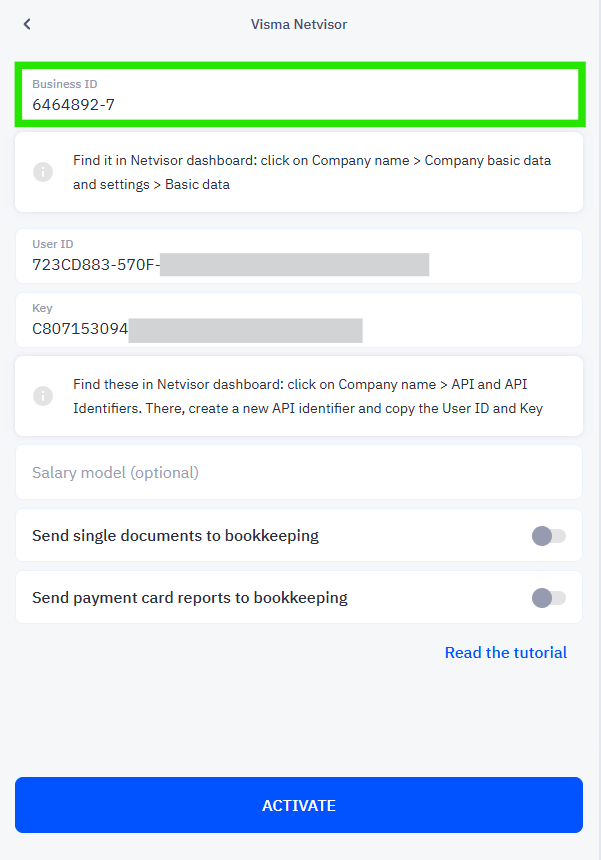
- Business ID in Netvisor -> click on your Company name -> Company basic data and settings -> Basic data.

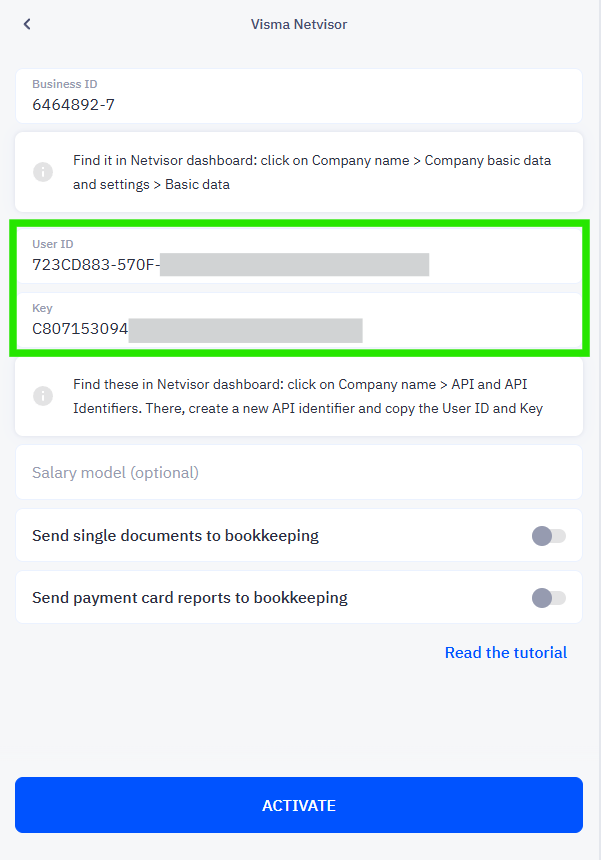
Add the User ID and Key. Go to Netvisor -> click on your company name -> API and identifiers -> create a new API Identifier -> copy the User ID and Key into the settings in CostPocket.

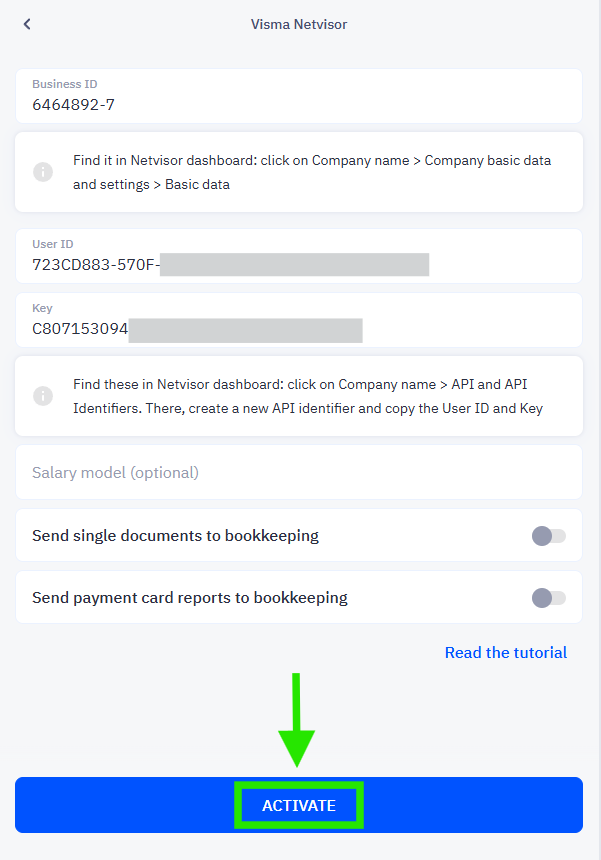
2. Click on Activate to activate the integration from CostPocket side.

3. In Netvisor -> go to Settings -> E-invoice settings.
Scroll down the page and press the Activate button for CostPocket.

How to digitise and submit documents from CostPocket to Netvisor
Documents can be sent to Netvisor one-by-one (invoices and receipts) or as reports (expense reports or travel reports). Learn more about creating and submitting documents and reports in our tutorials here: